How to save all visible content in GIMP
by Aleksandr ProkudinHere is how you can export everything visible in GIMP's image window to a file
A question on the very same topic came up twice in past few days: how does one go about saving everything visible in GIMP’s image window to a file?
In both cases a person played around with channels, like the result of disabling one or two of them, but didn’t know how to save it.
Let’s start from the very beginning. Why is it not possible to disable a color channel and save exactly what you see? It’s about separation between content and representation.
Disabling display of a color channel is a temporary action. You only change representation of your image data, the way you see it here and now. The actual image is still made of pixels, and each and every pixel is still made of color channels (roughly speaking).
Is there a workaround then? Yes. Let me introduce you to black magic for common people.
What’s a Projection
Every time you look at your image in GIMP, you look at what we, geeks, call a projection. Take this simple layer stack for example:

The projection here is made of three layers, two of which have masks. A simple equivalent to projection is all those visible layers merged into one layer using Image > Merge Visible Layers command. This command flattens all layers with masks into one. This layer will represent projection: everything that you see in an image window.
However projection is a wee bit more than just layers composition. If you enable Quick Mask (Shift+Q) for creating a selection using Paintbrush tool, the projection will include composition of all layers plus representation of that quick mask.

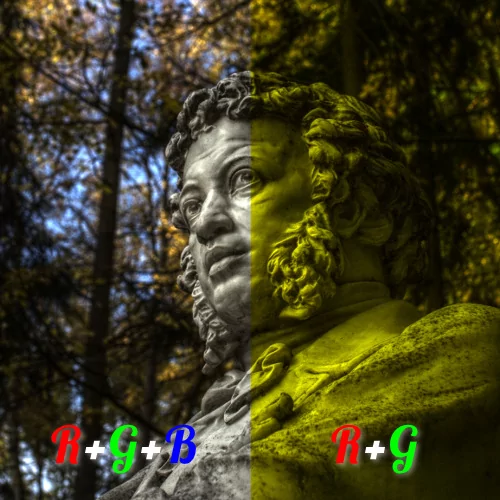
If you disable one of the color channels, the projection will include layers and masks composition minus that channel. You can take the blue away from Pushkin, but you can never take Pushkin away from the blue:
So the obvious way to preserve whatever you see in front of you is to save projection.
How to Capture It
GIMP has a Layer > New from Visible command that will do exactly what it says: everything that you see right here and right now will be captured and pasted into a new layer that will be added above currently selected layer.
Hence if you disabled a color channel, liked the result and wanted to preserve it in the exported image, here is what you do:
- Create a new layer from all visible
- Put it on top of the layer stack
- Save or export.
An important notice: not everything is captured. Visualization of selection (marching ants) and paths is not saved. If you really need that, use Create > Screenshot command.
Other Uses
Even though the channel example was the reason for writing all this, the use case is somewhat esoteric. It really isn’t what people do on a daily basis. But there are more uses to saving projection. Let me name just a few.
Saving intermediate processing steps. This is what I call poor man’s adjustment layers. While GIMP doesn’t have real adjustment layers yet and hence cannot non-destructively process everything in a layer stack in the middle of a complex work, you can work around that. Whenever you have to use a color adjustment tool or a filter that is supposed to change all that you see, just create a new layer from visible and process it. Then continue adding more layers.
If at any time later you discover that you did something wrong back then, you can easily fix it:
- Find the “all visible” layer (make it a habit to give meaningful names to layers)
- Delete it
- Disable visibility of all layers above it
- Create a new “all visible” layer
- Process it again.
Another good habit is always saving complex compositions to GIMP’s native file format, XCF.
Doing illustrations for your GIMP tutorials. I’m not kidding you. Sometimes you really want to easily show users e.g. what the current mask looks like. Screenshots are not what they are cracked up to be: you still have to crop them to get rid of UI elements. This is not the best way to do it.
All you have to do is
- Use Show Layer Mask command in Layers dialog’s right-click menu
- Use Layer > New from Visible
- Uncheck Show Layer Mask
The representation of that mask will be added as a new layer. And since illustrations for tutorials are usually created as you go, you can just immediately use File > Save as Copy (GIMP 2.6) or File > Export (GIMP 2.7+) to export your tutorial illustration, then disable visibility of the newly added “mask” layer. Oh, and it works for quick masks too.
Summary
Let’s sum it up now.
- All that you see in a GIMP’s image window is really a projection.
- GIMP composes all currently visible layers, masks and channels into it.
- This composition can be captured into a new layer.
- You can use it to store what you currently see in front of you.
With just a bit of practice you will find creating new layer from projection a real help in complex workflows, adjustment layers or not.
Patreon subscribers get early access to my posts. If you are feeling generous, you can also make a one-time donation on BuyMeACoffee.