Angled guides and snapping for Inkscape beginners
by Alexandre ProkoudineInkscape's v0.46 was the first version that got angled guides. Along with advanced snapping introduced in later versions it makes accomplishing certain tasks much easier. Let's see how.
Inkscape’s v0.46 was the first version that got angled guides. Along with advanced snapping introduced in later versions it makes accomplishing certain tasks much easier. Let’s see how.
If you can recall your geometry course (the planimetrics part), a line is something that goes directly through two points.
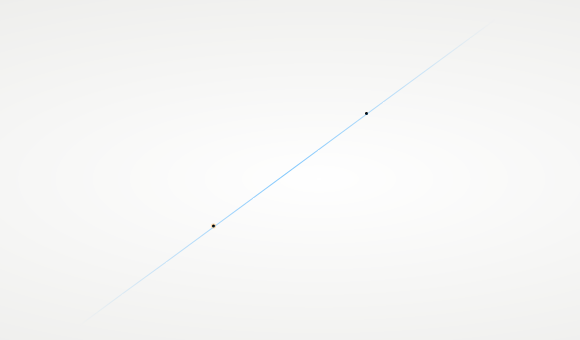
The fun thing about angled guides in Inkscape is that they honor geometry by having two snapping items: 1) the guide origin, which works as the rotation center, and 2) any other part of the guide’s line.
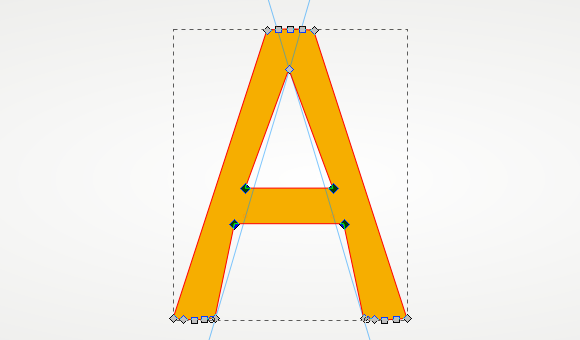
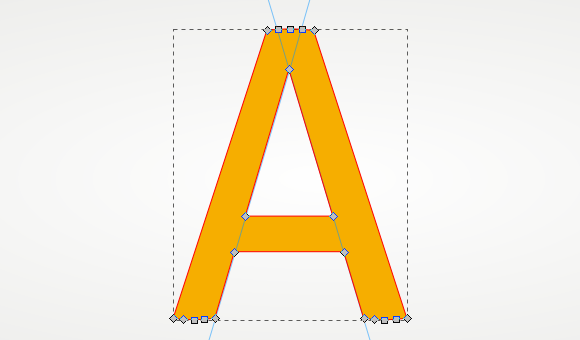
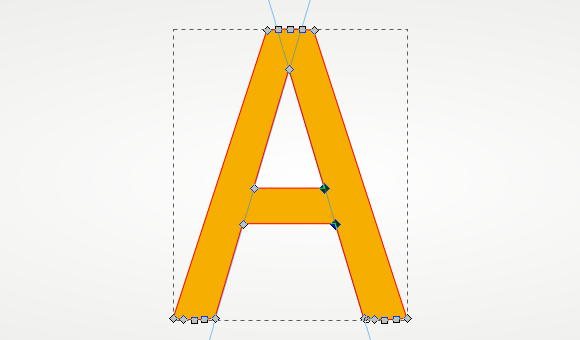
Let’s say you are designing an ‘A’ letter or adjusting someone else’s design. You more or less like the outcome, but you want to push the crossbar higher to see if this might improve it. (By the way, it’s usually recommended to design everything on paper first, and vectorize later.)

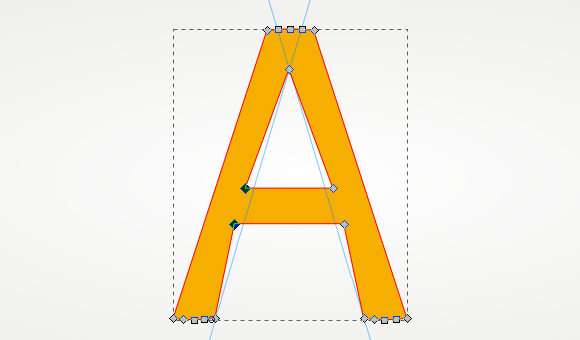
If you try to just select the nodes and shift them higher, your diagonals get distorted (red version). How do you preserve them (yellow version)?

This is where angled guides and snapping kick in to save the day.
First of all, make sure you have snapping enabled, and especially snapping of cusp nodes in this particular case.
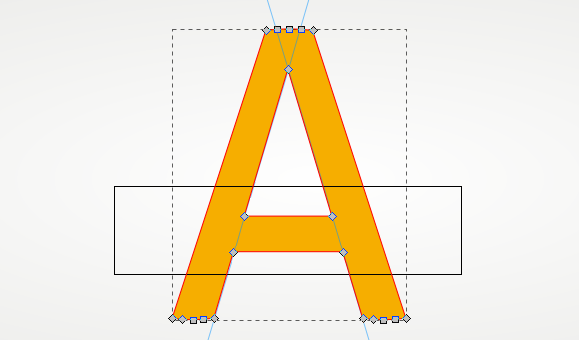
Then drag a guide from a ruler so that it’s origin snaps to one of the point on a diagonal line. Dragging a guide from the upper left part of the rulers automatically created a 45° guide which is a bit more convenient for working on diagonal lines.
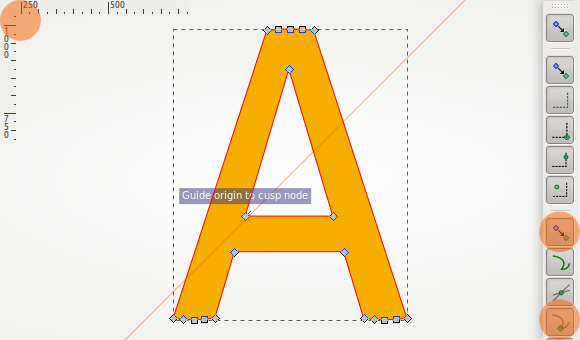
Now you need to rotate this guide in a way that it goes exactly above the inner diagonal line of the ‘A’ letter. So, following the geometry definition mentioned above, you need the guide to go through two points of that diagonal path.
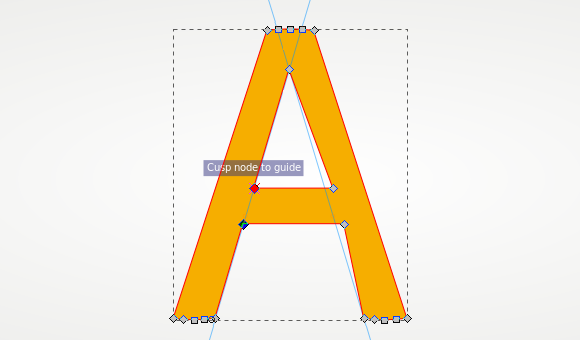
Hover the guide with the Selector or the Node tool and press Shift. Then start dragging the mouse pointer towards the cusp node where two inner diagonal lines of the letter meet:
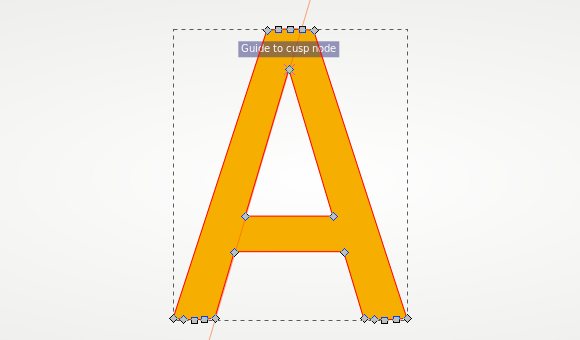
Your guide is exactly above the first diagonal line of the letter now. Repeat the process for the opposite diagonal line.
Now you are set to go. With the Node tool do a rubberband selection around the four crossbar nodes:
Use arrow keys (with Alt for smaller steps) to push the crossbar nodes higher.
And now let’s restore the inner diagonals. Select the two left nodes of the crossbar:
Press the Ctrl key to lock the direction of displacement to just vertical / horizontal, and drag the selected nodes to the right till they snap to the guide:
Repeat for the two other nodes of the crossbar, and it’s done.
The whole thing takes about half a minute.
You can move the guide’s origin along the guide’s line: just hover any part of the guide, press Ctrl and start dragging.
The same idea can be used to place multiple objects in parallel to a straight path: create a guide that’s parallel to it, shift that guide, snap other objects to it.

By the way, you may have noticed that I customized guide colors. I don’t really like the use of RGB primaries throughout Inkscape’s interface. It makes Inkscape look like something made in 90s. Here is what I have:
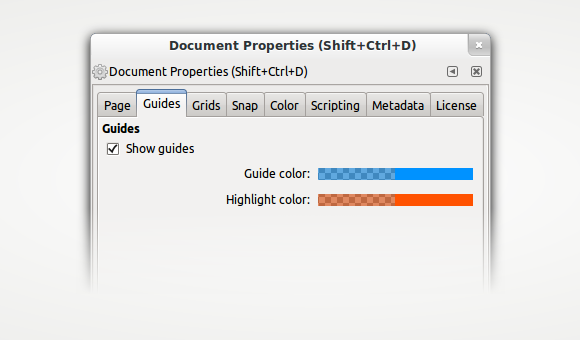
For guide color I use 0092ff7f, and for highlight color I use ff52007f. If you don’t want to do that for every single new document, learn how you can make a great use of Inkscape templates.
Patreon subscribers get early access to my posts. If you are feeling generous, you can also make a one-time donation on BuyMeACoffee.