
This is a rather simple tutorial on drawing a stunning Mac-like clock in Inkscape using boolean path operations and gradient fills for nice smooth highlights.
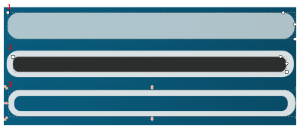
This tutorial could be of interest for both novice and experienced Inkscape users. Basic Inkscape skills (objects manipulations, using Gradient editor) are required. Here is an example of a result:
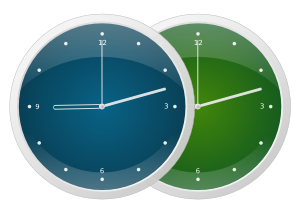
Examples of finished clock pictures
And now let's do it.
- Draw a circle (F5), keeping Ctrl pressed to keep 1:1 ratio. Open the Fill and Stroke dialog and use settings from the illustration below. You can tweak the gradient's angle using interactive gradient editor (Ctrl+F1).
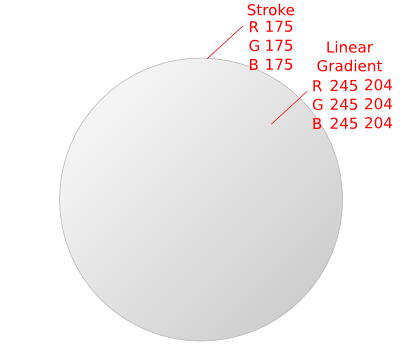
Colors of the base gradient
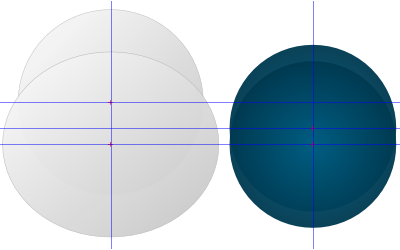
- Duplicate this object (Ctrl+D), decrease its size a little and rotate to 180° clockwise (use Object > Rotate to 90° twice or press Ctrl+]).
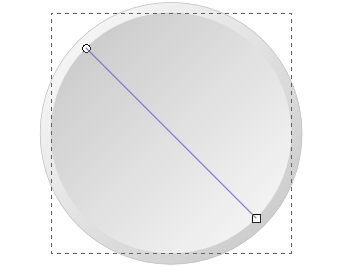
Second gradient
- Duplicate the latter object and slightly decrease its size. Now set its fill to white. Base for a clock-face is ready now.
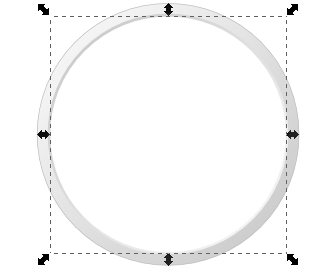
Another circle
- Now use a radial fill for the clock-face using values from the illustration below:
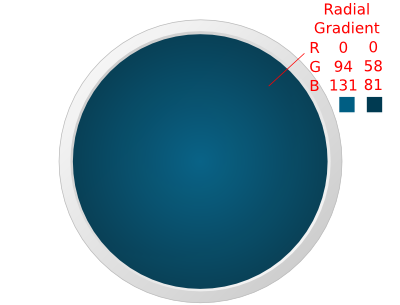
Radial fill for the clock-face
- Now start filling the clock face with circles representing hour marks. Start with a single solid white circle. Double-click it to reveal object's rotation center cross mark. Drag this mark to the center of the clock-face and duplicate it.
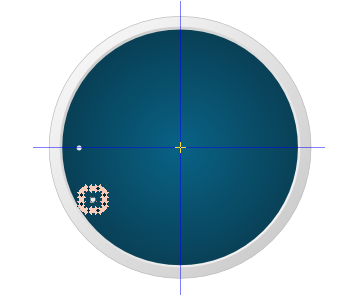
Circles representing hour marks
Fire up Object > Transform (Ctrl+Shift+M) dialog, switch to Rotate tab and set the value to 30 degrees.
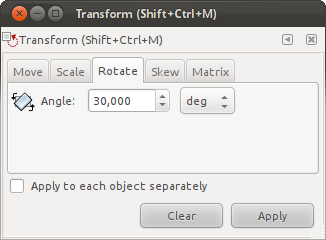
Rotation
Repeat until you have 12 circles.
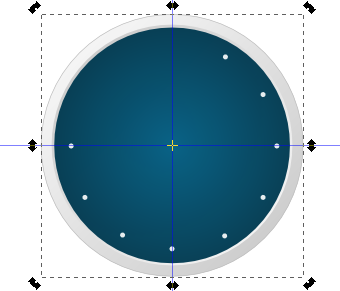
Finishing hour marks
- Now draw an hour hand. For this draw a rectangle ans slightly round its corners. Duplicate this rectangle, make it a little smaller and place in the center of a bigger rectangle. Select both objects and use Path > Difference (Ctrl+-) to subtract one rectangle from another. (Actually you can just use a rectangle without a fill, but practicing boolean operations with paths will do you good — editor)
Drawing hour hand
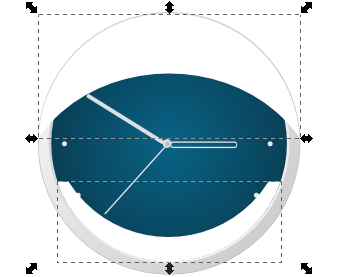
- Add a circle to the center of the clock-face and create other hands. Point them in different directions:

Adding circle to the center and other hands
- Now let's add some flares to make the clock look more realistic. For this you need to create two duplicates. The first one is a duplicate of the clock-face base object (I specifically made one ofthe clock-face object larger than the other, if you noticed), and the second one is clock-face. Here is how you place them:
Adding flare through duplicates
- Now select first two objects and use Path > Difference (Ctrl+-) again. Same to the second pair of objects. Here is what you should have:
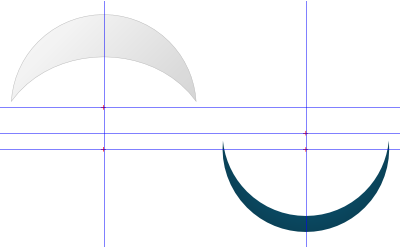
Using difference to create flare objects
- Overlay the existing clock picture with these two objects, remove their stroke and temporarily fill them with white color.
Overlay with flare objects
- Create a linear gradient fill for these objects. Use the illustration below for reference. Now rotate the gradient the way you like using Gradient Fill Tool.
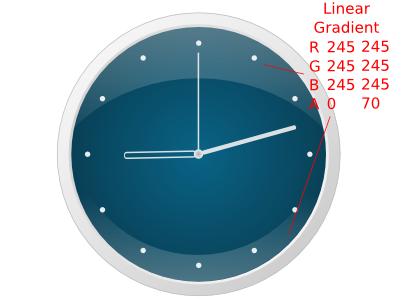
Gradient for the upper highlight
Now that you have this cool clock, you can add some figures to it.
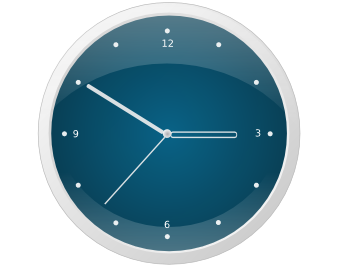
Finished clock
P.S. This kind of clocks I learnt to draw using Corel DRAW after stumbling upon a tutorial at Demiart.ru. That's when I got interested in vector graphics. And then I thought: do I really have to use pirated version of CorelDRAW or buy it to accomplish such a task? As it turned out, no — I don't have to. Doing the same in Inkscape wasn't any more difficult than in Corel DRAW.
Patreon subscribers get early access to my posts. If you are feeling generous, you can also make a one-time donation on BuyMeACoffee.