There’s a lot of conversation about using AI and neural networks in art lately. One direction this technology is evolving in is producing better looking upscaled images. The software has to pretty much paint in the details that weren’t there originally which requires some training.
We’ve seen algorithms like waifu2x in the past, then there was ESRGAN, Gigapixel by Topaz and others, and now the latest iteration is Real-ESRGAN which attempts to make the original technology better suited for dealing with real-life use cases. Here is one review that covers the use of Real-ESRGAN for upscaling lineart:
One recent example of Real-ESRGAN in action that is closer to home is upscaled original patterns from GIMP.
There have been a few UIs for the upscaler around, but now there are applications working natively on Linux.
The video here demoes both Real-ESRGAN in action and the two applications I’m talking about here — Upscaler and Upscayl. The article below is a shorter, adapted version of the voiceover script.
Upscaler
This application has been created with an increasingly popular combination of GTK4 and Rust. You can build Upscaler from source code, but it’s also available on Flathub which is where I got it from.
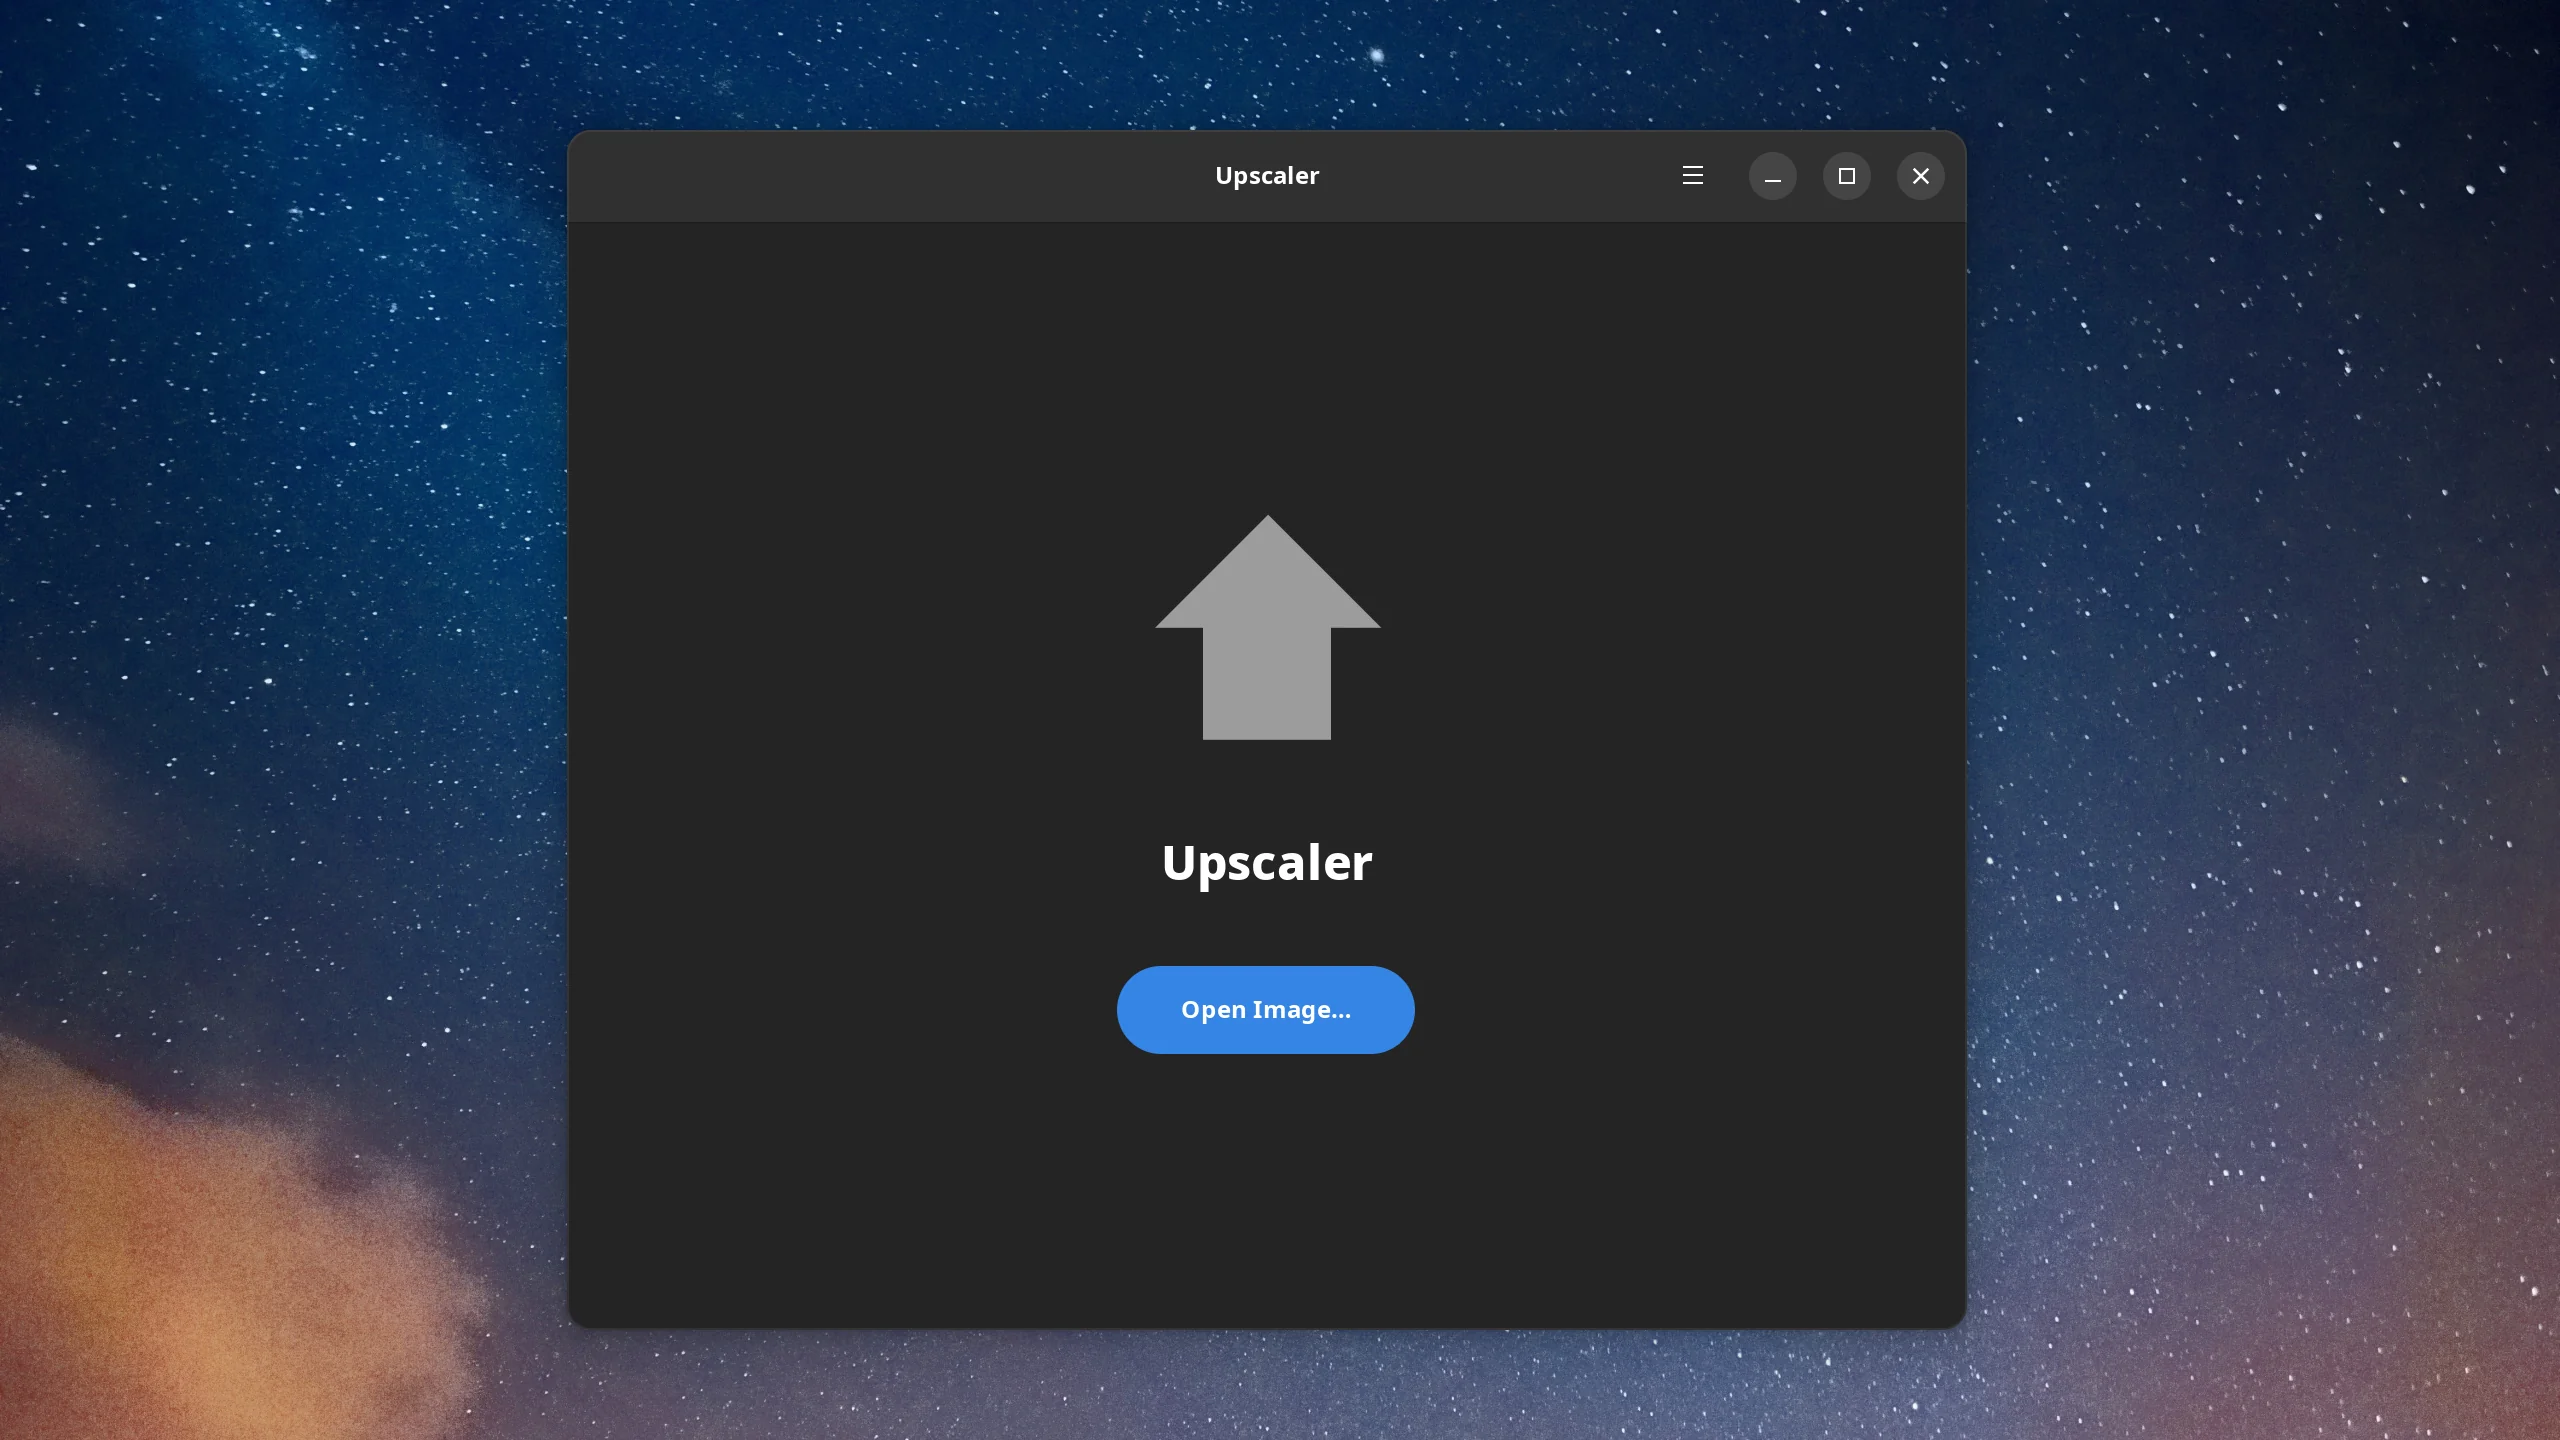
Once you load an image, Upscaler instantly tells you the original image size and the final image size, which is nice but also a rather expected thing to see.
The only option is whether this is a photo or a cartoon. And it forces the user to specify the destination filename. You won’t be able to upscale until you do that.
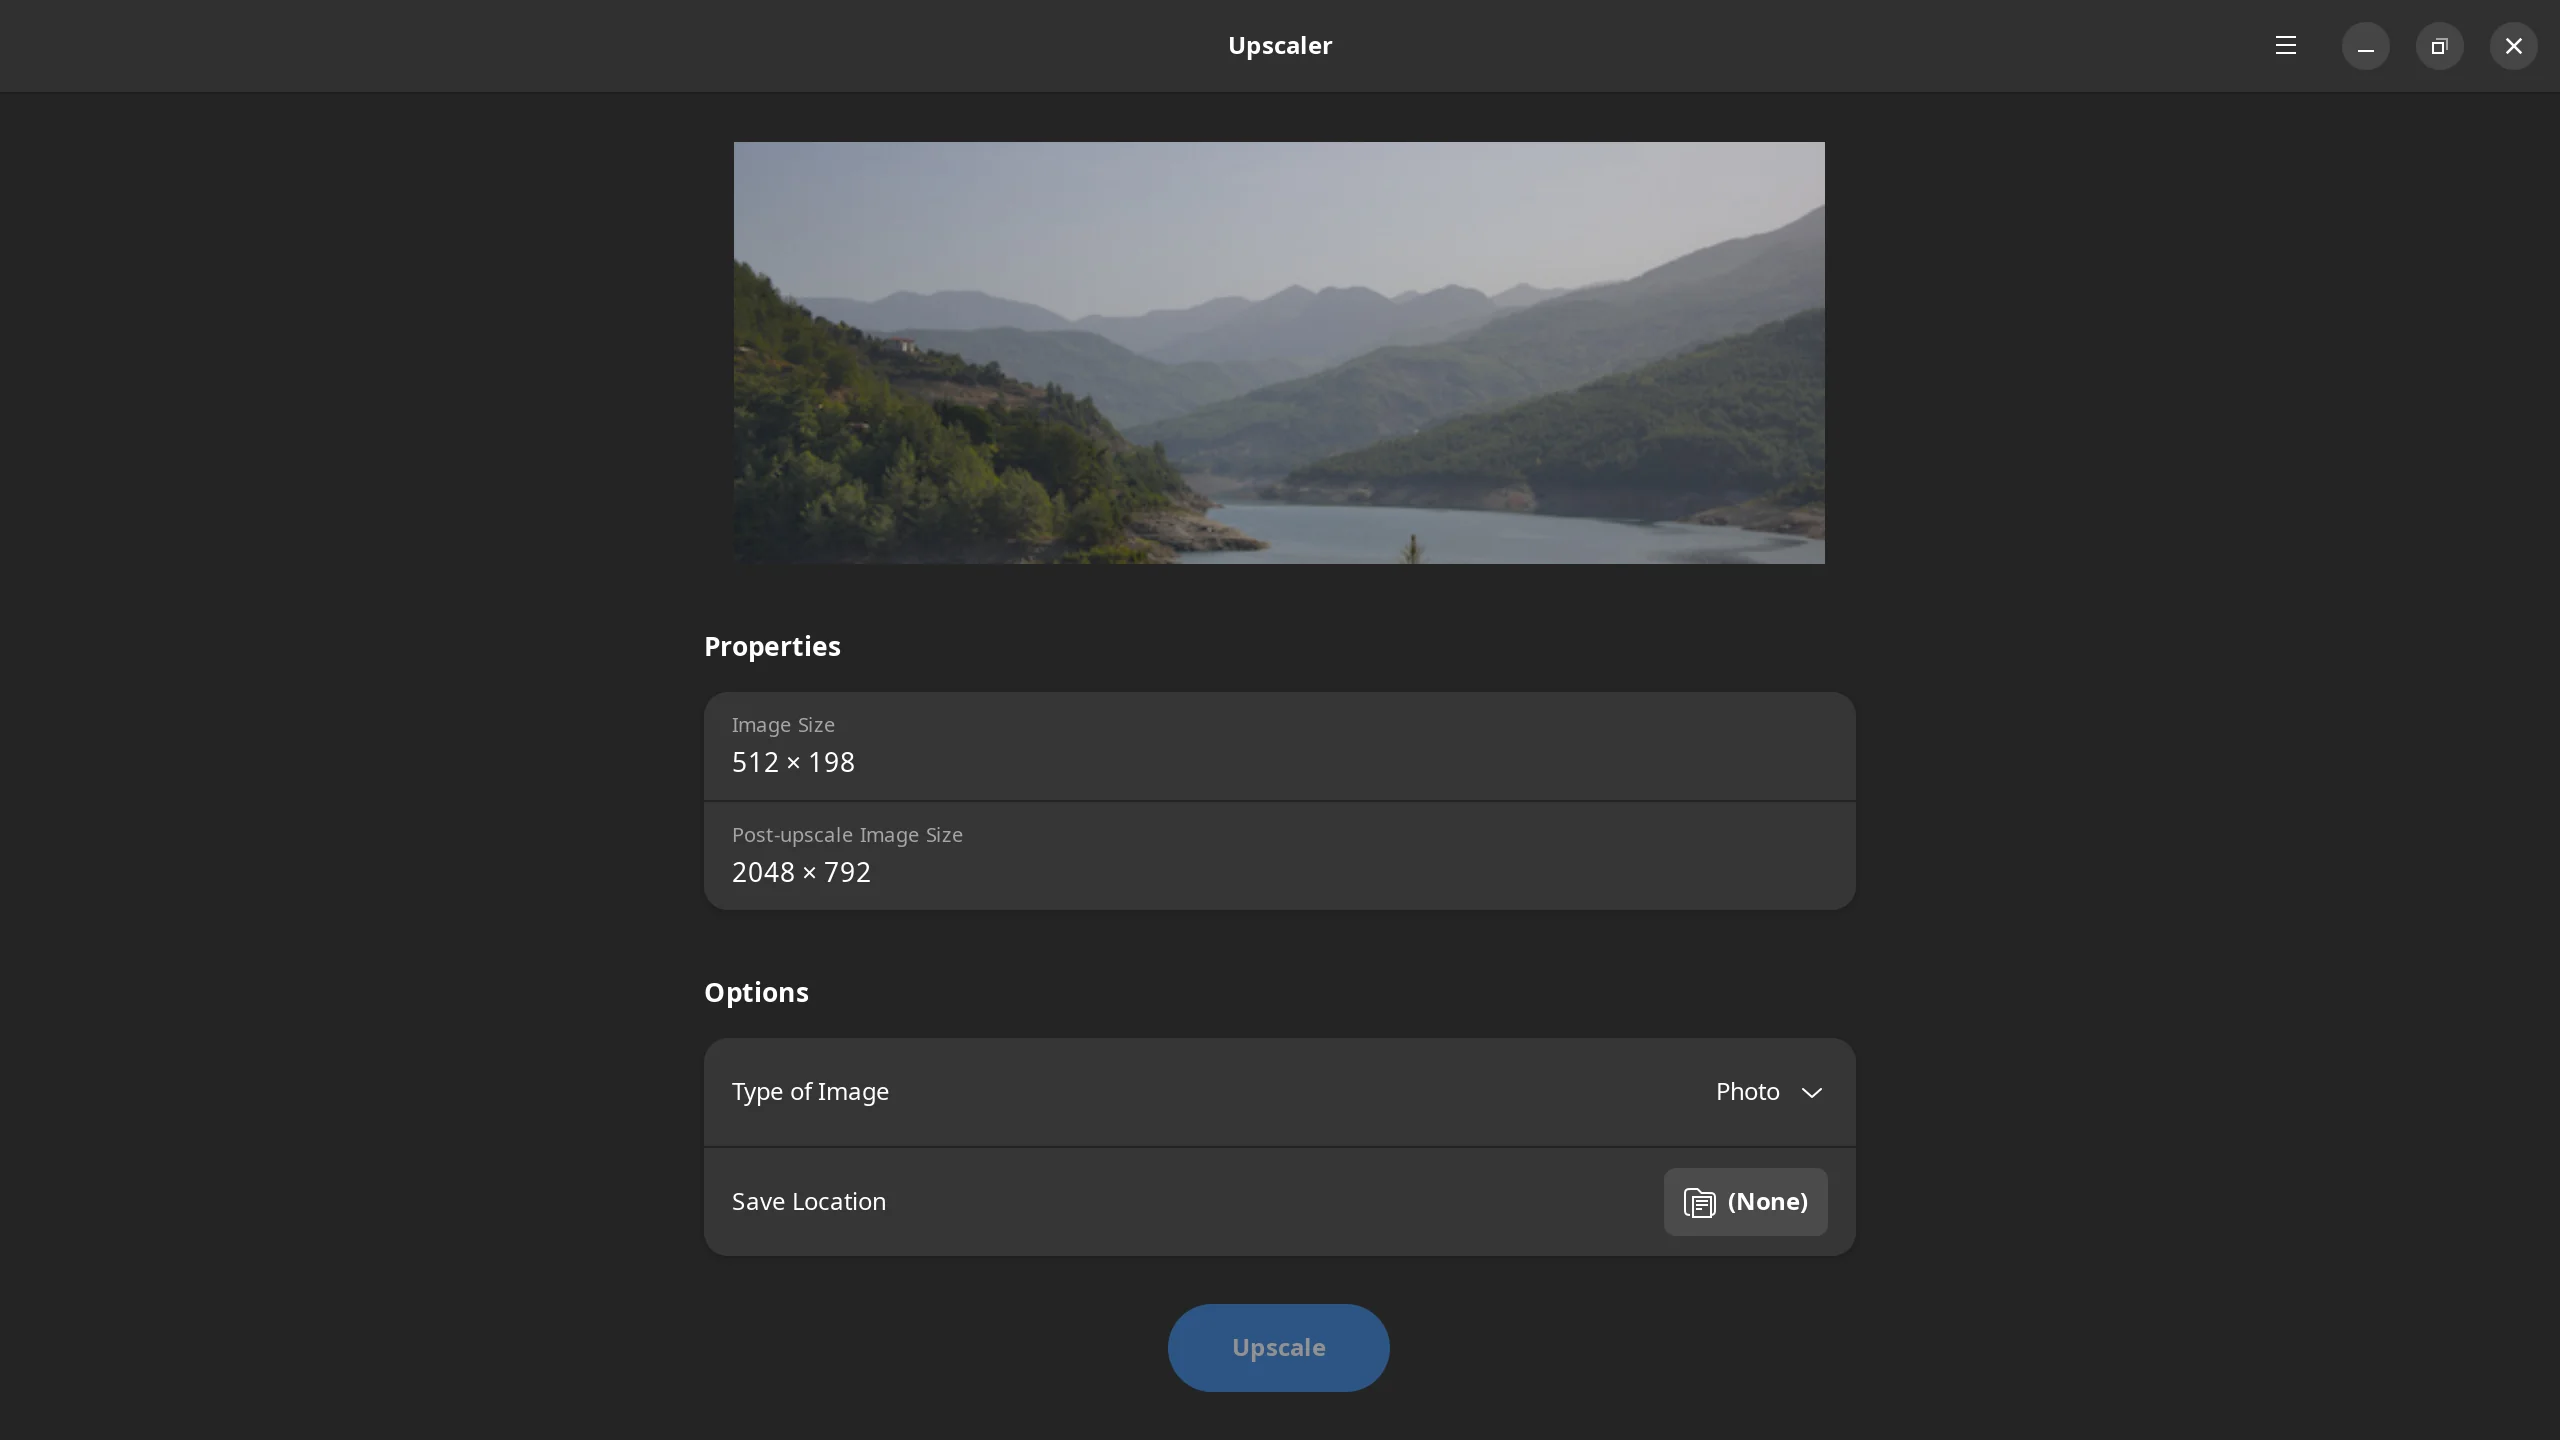
Once the upscaling is done, the program notifies the user and allows quickly opening the resulted file.
This is pretty much all there is to it. There really isn’t much of a user interface to review. It’s all very straightforward. Just one setting. Just one button. And it works.
There are a few caveats. The workflow demands that you specify the file name, otherwise it won’t work. I think it would be sensible to default to the same folder where the original image is, and then to pre-pend or append a word to the original filename, like, filename_upscaled.png.
It would be nice to have a way to compare the image before and after scaling, because people really do it, and default image viewers don’t usually make it easy as you’ve just witnessed. And then batch-processing sounds like something you would really appreciate this kind of a program to be able to do.
It would also be great to use the image view area as the drag’n’drop area, and it looks like it is already work in progress!
Upscayl
This is an Electron-based program, it’s available as an AppImage build on Linux (and has Windows/macOS builds) and it looks like its developers want to make it available on Flathub but they need help with that.
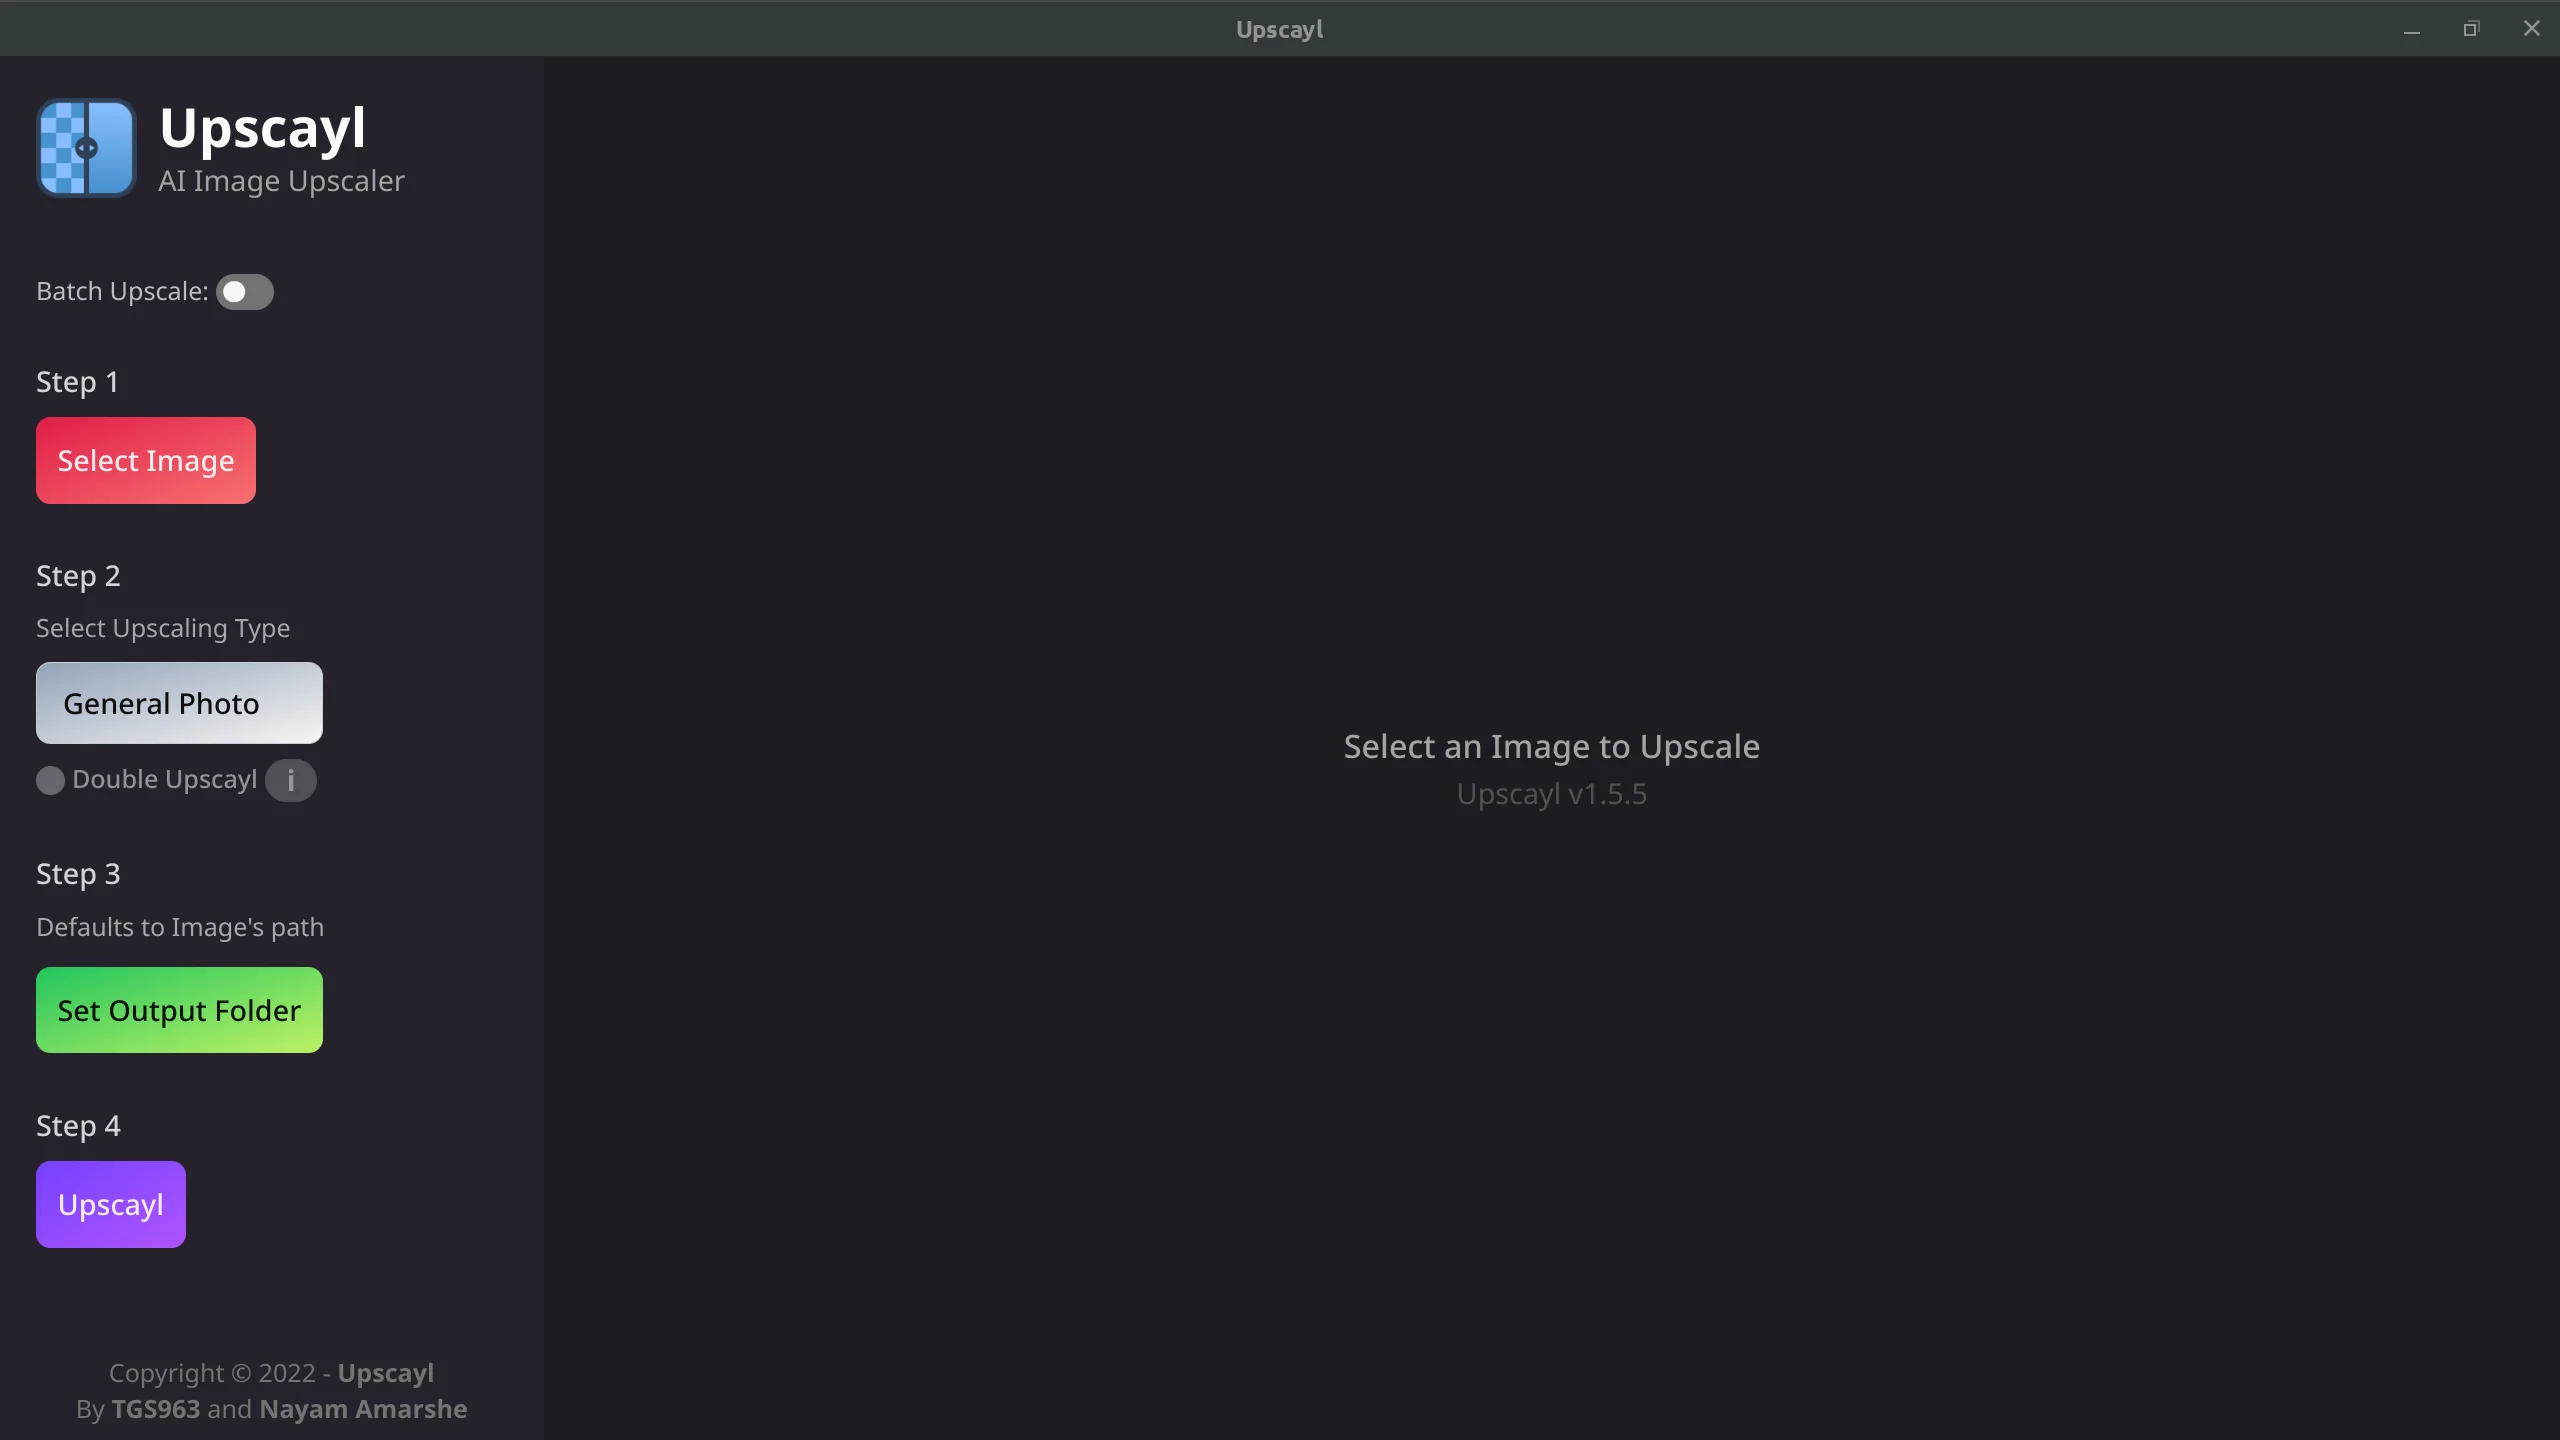
Anyway, Upscayl immediately ticks one of the boxes I have for Upscaler with the batch mode. It has three rather than two types of processing which are digital photo, digital art, and sharpening. In the latter case, it keeps the original image size, but adds details. For some reason, this is the slowest mode of all.
Upscayl allows to double the size of the resulted image which I think means it processes the processed file the second time. This option is not available in the batch mode, probably because it makes the program really slow, and it gets hidden when you select the sharpen mode which also makes sense.
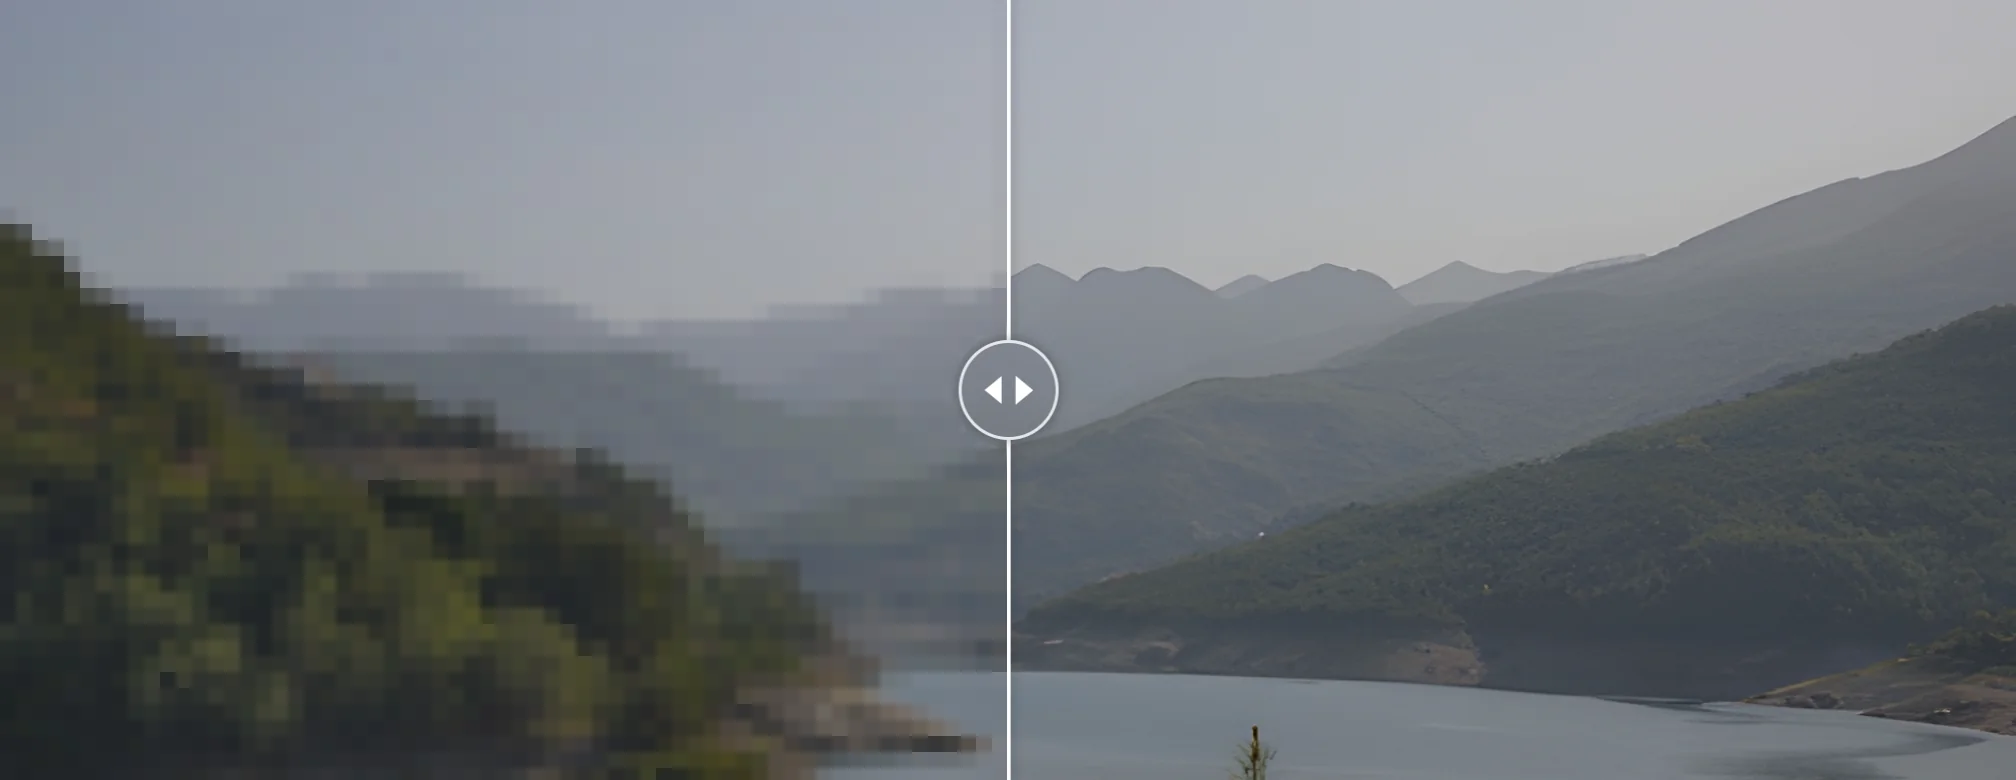
The great thing about Upscayl is that it has before|after image comparison built right in. Left is before, right is after, and you can drag the curtain left and right.
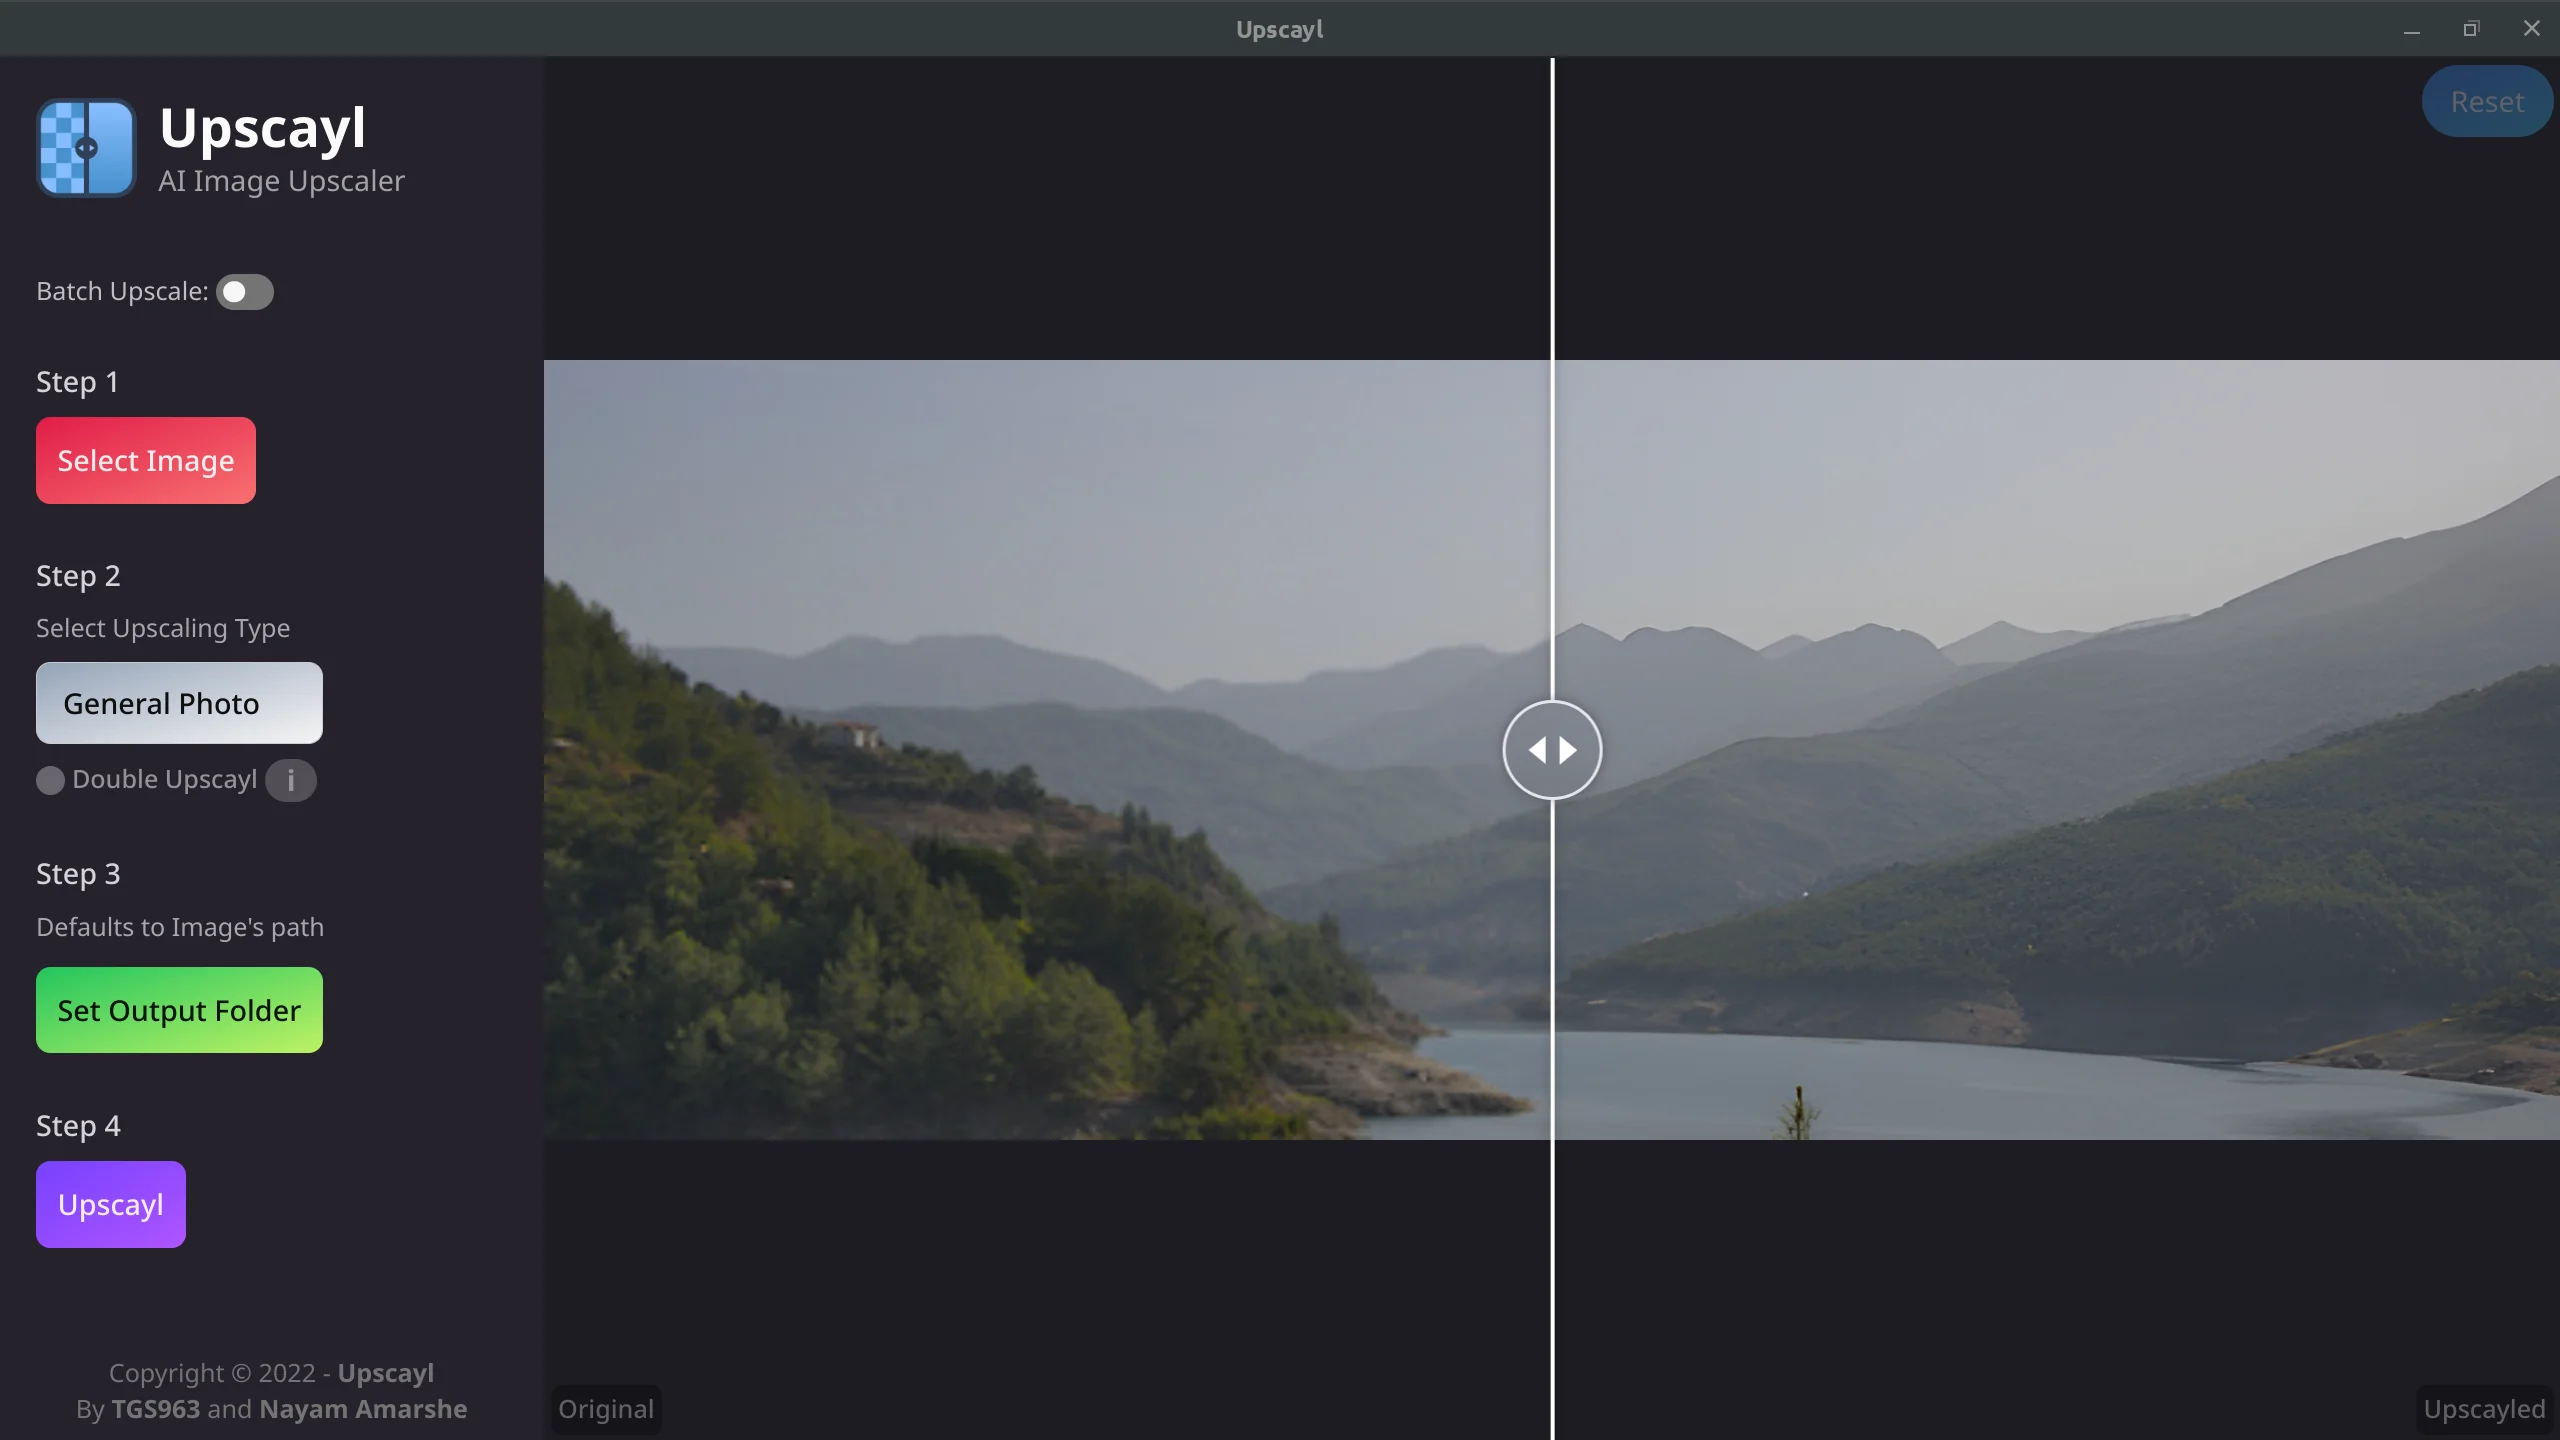
Rather than requesting target file name from you, Upscayl simply reuses the original file name and appends a few words to describe what changes were done. So you can see here that this version is a 4 times upscaled variation and this one is a sharpened variation.
You can also load a different image just by dropping it from a file manager.
The roadmap for Upscayl also says that upscaling videos is one of the next targets, and judging by what I see in commits on GitHub this is being worked on right now. Which is exciting!
So which one is it?
All the things I can think of right now that I would want in Upscaler, Upscayl got it. The only thing that I would love Upscayl to have would be showing original and target image size somewhere conveniently (feature request filed).
That said, the developer of Upscaler has some interesting ideas about the future of the program, e.g. plugging more algorithms. So both programs look interesting enough to watch.
Further use of Real-ESRGAN in applications?
I think it makes sense to have this kind of a tool integrated into other programs. GIMP and Krita are obvious choices, not in the least place because there are 3rd party integrations of other AI tools for both of them, e.g. Stable Diffusion (GIMP, Krita).
But something like BeeRef would probably also benefit from this because when you collect references, sometimes some of those references are just tiny images that would serve their purpose better were they upscaled.
But wait, there’s more.
Mark Jarrell went ahead and created an add-on for Blender 3.1+ that uses Real-ESRGAN for upscaling renders. The rationale is to cut rendering time by rendering smaller images and then upscaling them.
4k images can be rendered in the time it would take to render HD 1080p images. HD 1080p images can be rendered in record time on low end hardware.
The GitHub page already has a tutorial on installing, enabling, and using this add-on.
Last but not least, thanks to one of my readers, Tobias, who tipped me off about Upscayl.
Patreon subscribers get early access to my posts. If you are feeling generous, you can also make a one-time donation on BuyMeACoffee.